Getting started
First glance into Ewetasker
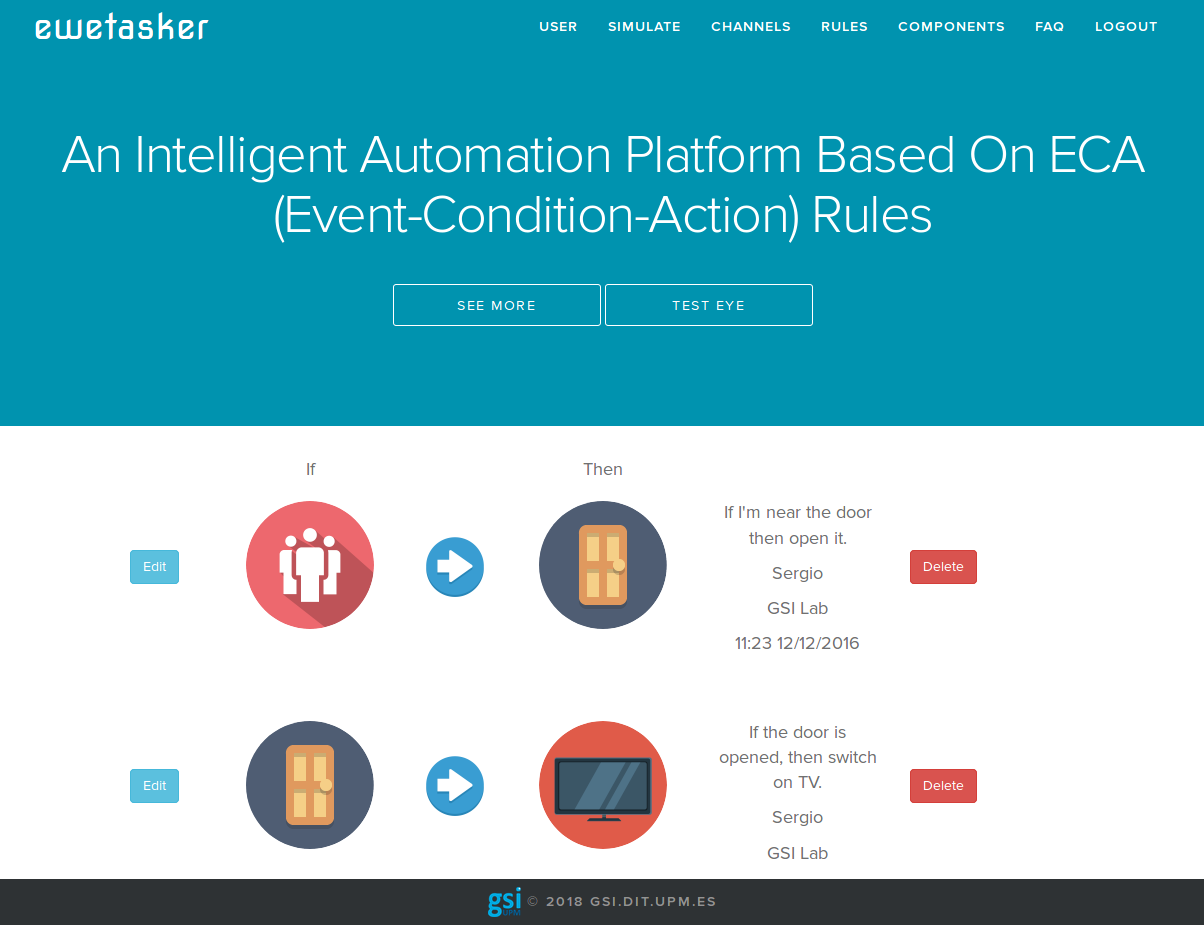
The quickest way of exploring the possibilities offered by Ewetasker is accessing this demo. There you can discover the channels designed for your smart devices, how to create rules to control their functions and test their working in real time. Some channels have been developed to control a few common smart devices like smart TV, smart lights, or presence sensors.
Tutorial I: Installation
Ewetasker installation is based in docker containers, so it is required to have docker installed.
For docker installation in Ubuntu, visit this link.
First of all, you need to clone the repositories:
$ git clone http://lab.cluster.gsi.dit.upm.es/ewetasker/ewetasker.git ewe-tasker
$ cd ewe-tasker
Then, you have the option of setting up the environment variables following the advanced tutorial but it is not necessary to use the application. Finally, execute the following lines:
$ sudo sh start.sh
When the process finishes it is possible to access the Ewetasker web application by accesing http://localhost:8080/ from your web browser.
If you experienced any error following the previous steps, then try to stop/remove the containers related to this project.
$ sudo sh reset.sh
The main page should be like this:
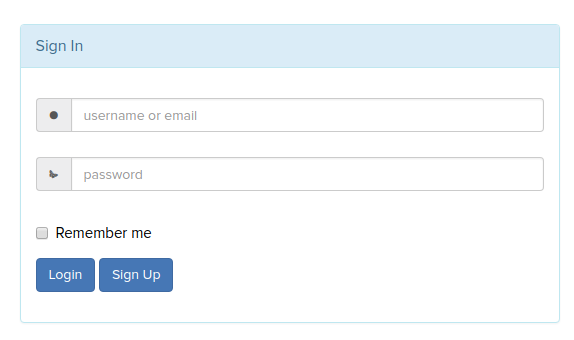
Once there, you can access to the log in page by cliking on USER in the navigation bar. In there, you can create a new user or access with a user created before.
If you want to access as admin, you can create a user whose name must be admin, and choose a password for it. With admin permission, you can use the following functions:
- Access, modify, and delete the default channels and the new channels created by other users.
- Access, modify, and delete the rules created by other users.
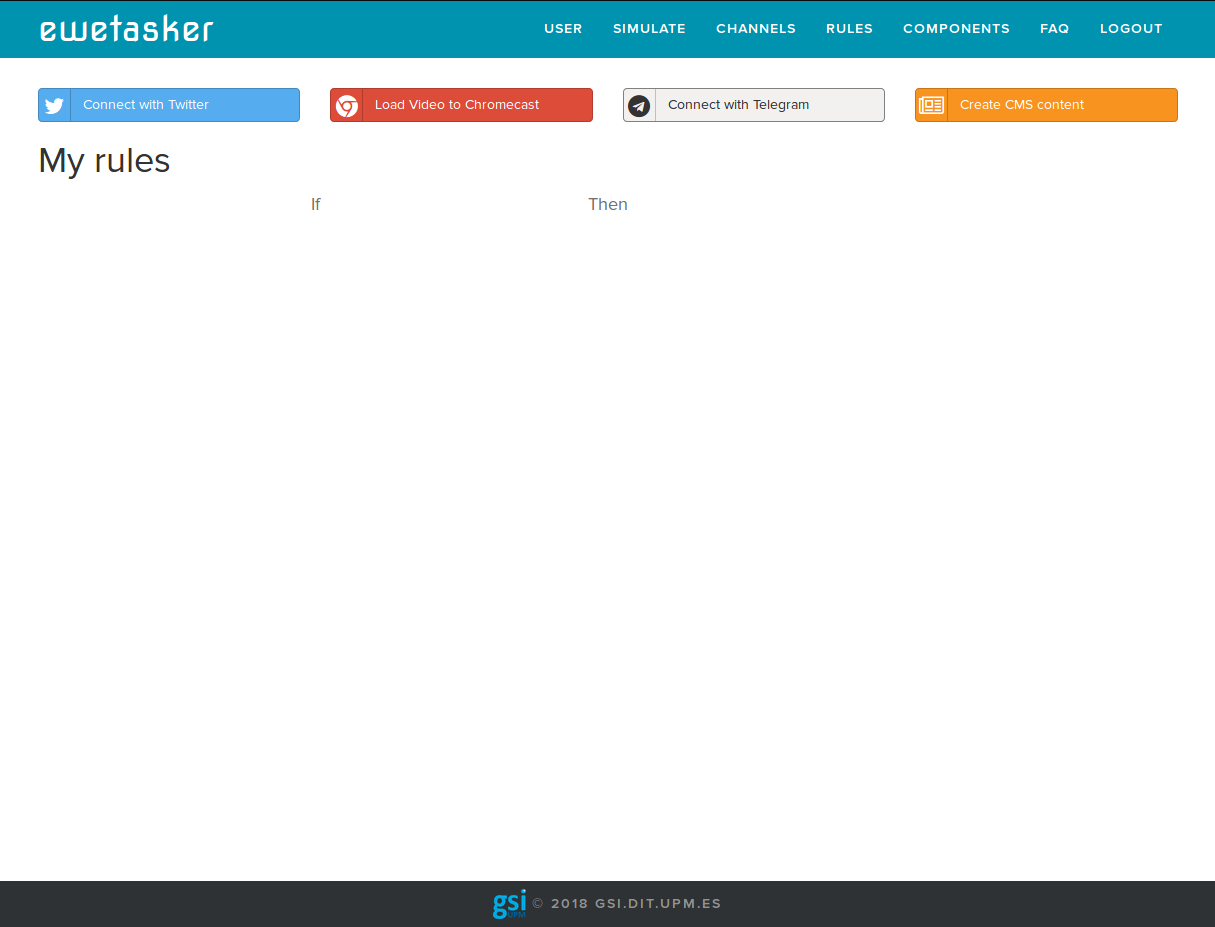
The user page should be like this:
In the next steps you will discover more about Ewetasker.
Tutorial II: Installing Ewetasker Android App
Ewetasker Android App has been developed to to manage events and actions of channels belonging to user smartphone or needing to interacts with smart devices using Bluetooth.
This application is available in Google Play Store and it is named Ewe Tasker.
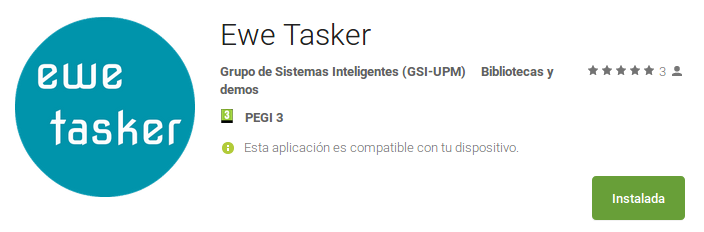
To install the app, go to the following url or search Ewe Tasker on Google Play store.
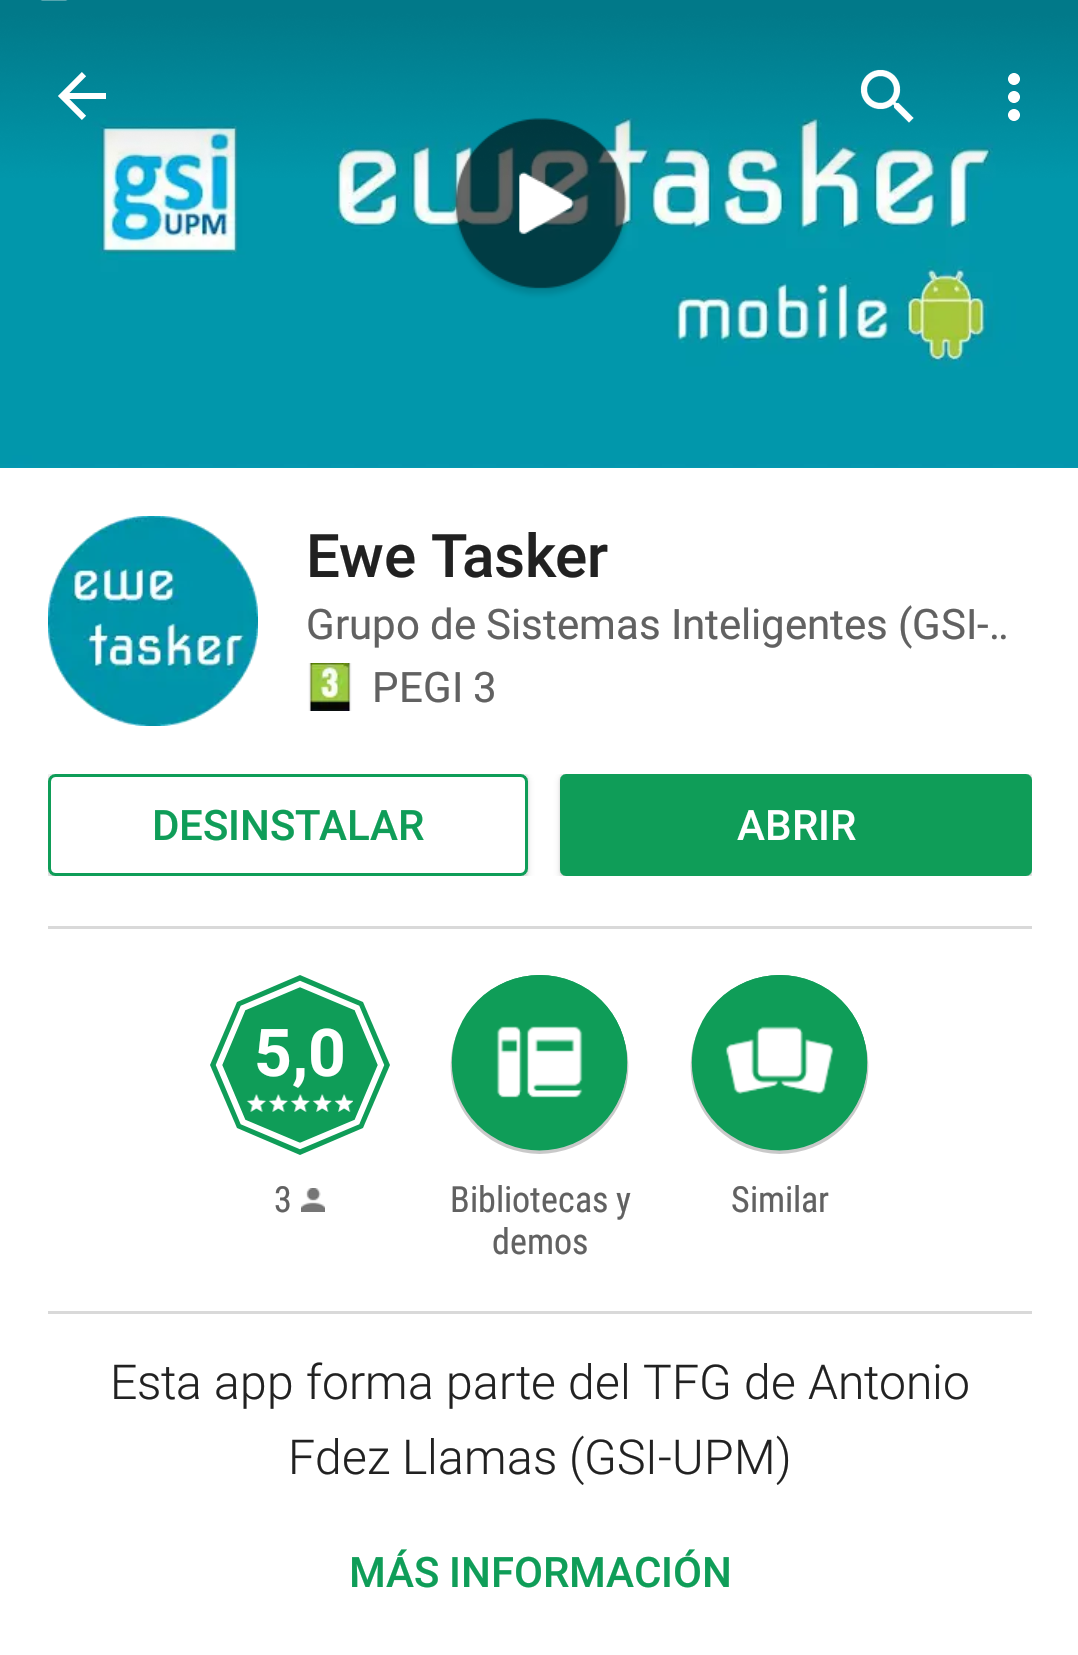
Once installed the application starts with the following screen:
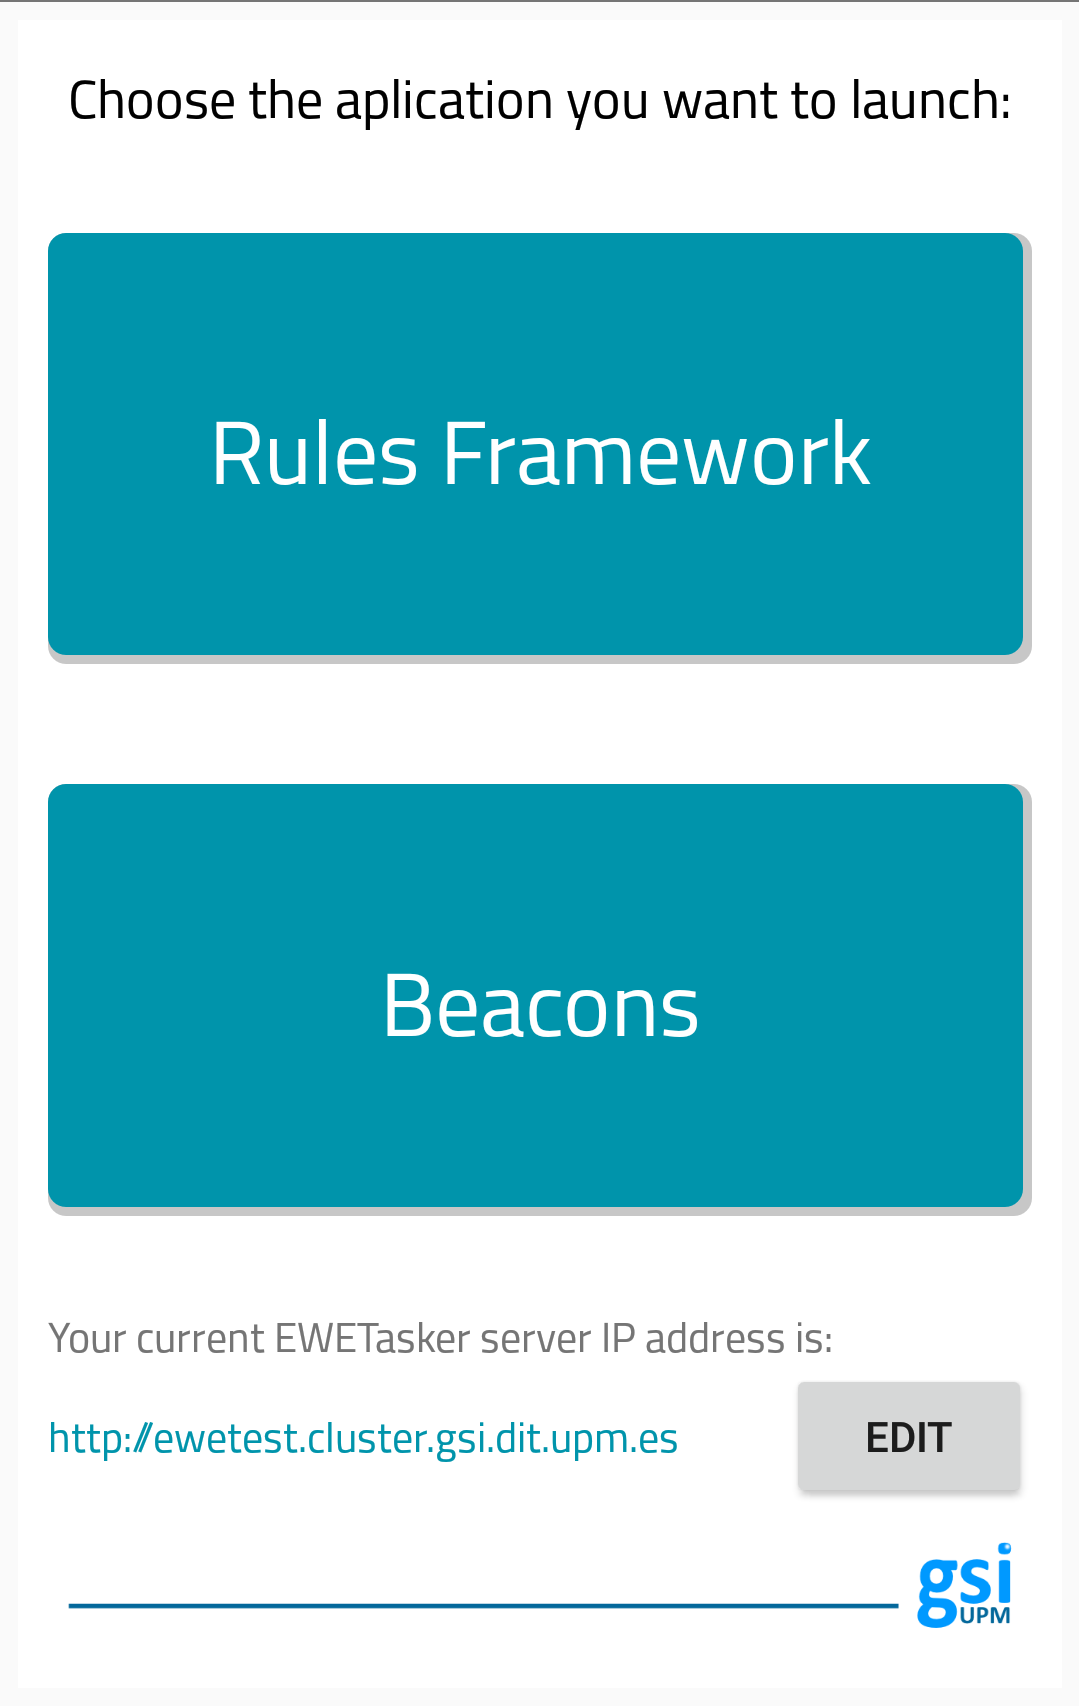
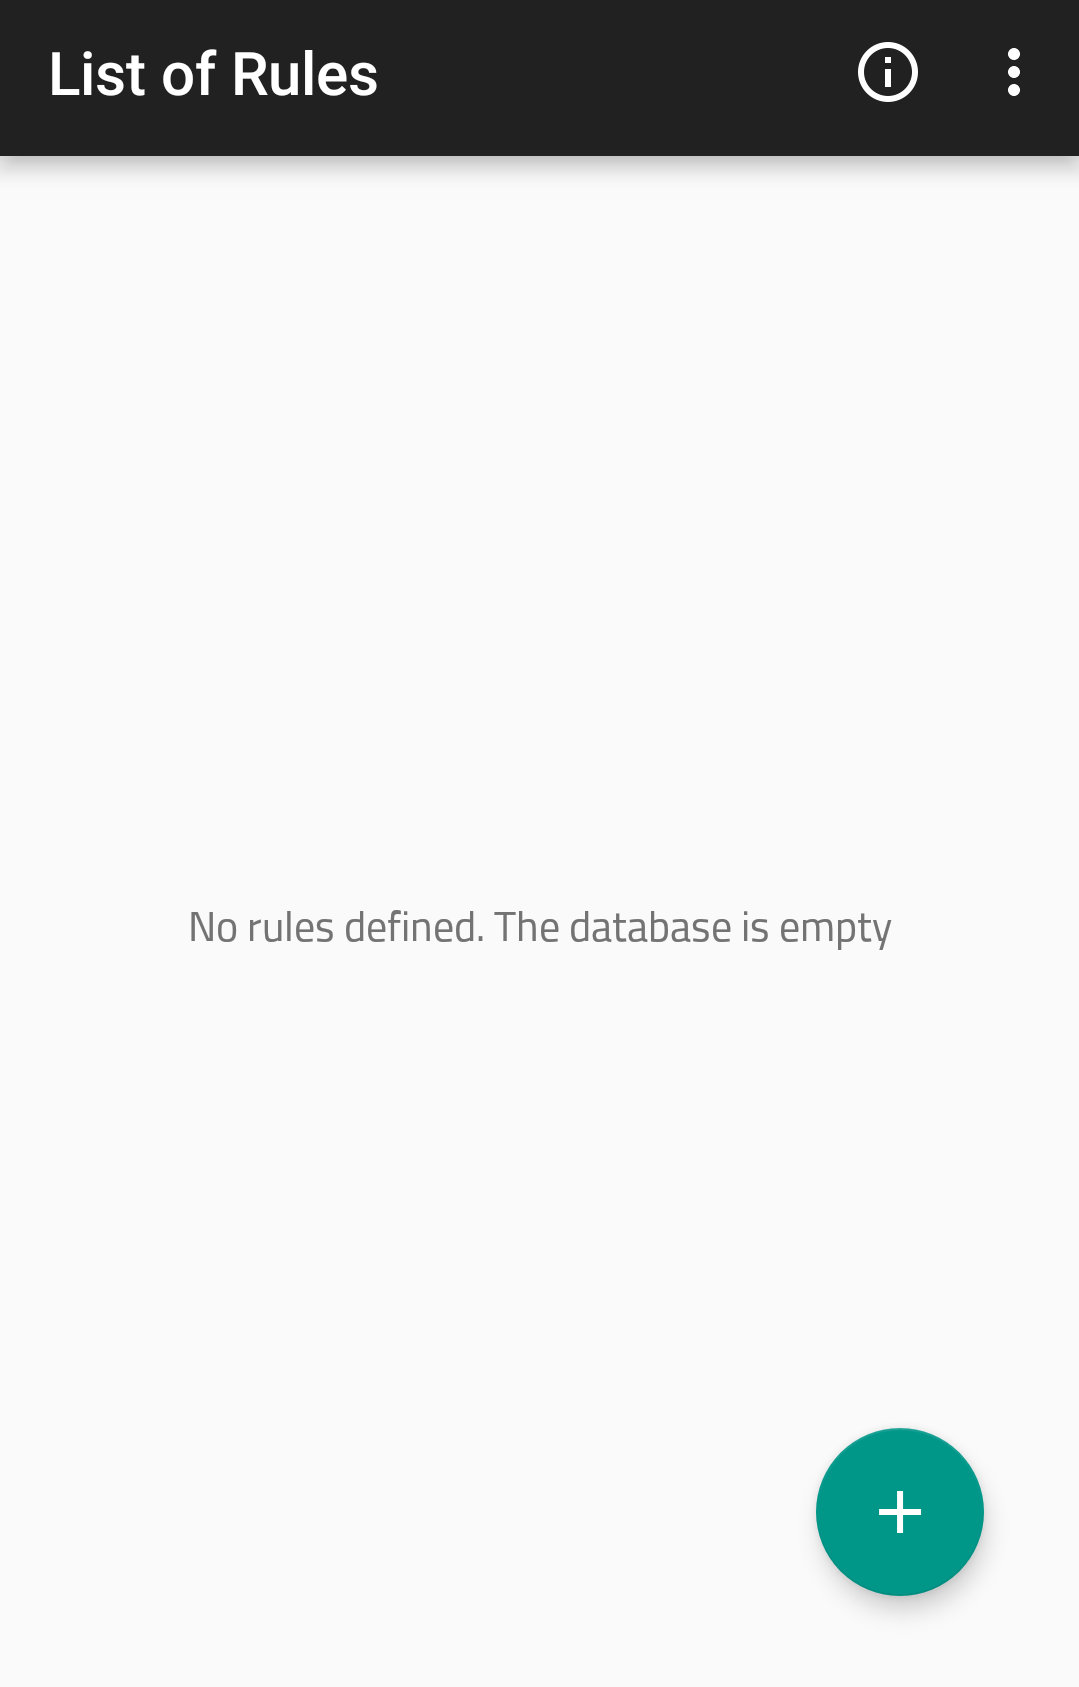
Before using the app is needed to configure the public Ewe Tasker IP address in which is located your own version. In this screen it is possible to choose between two options: Rules Framework and Beacons. In Rules Framework’s screen you can see a list of rules created with the app and create new ones.
On the other hand, in Beacons’ screen you can listen the beacons signals located around yourself.
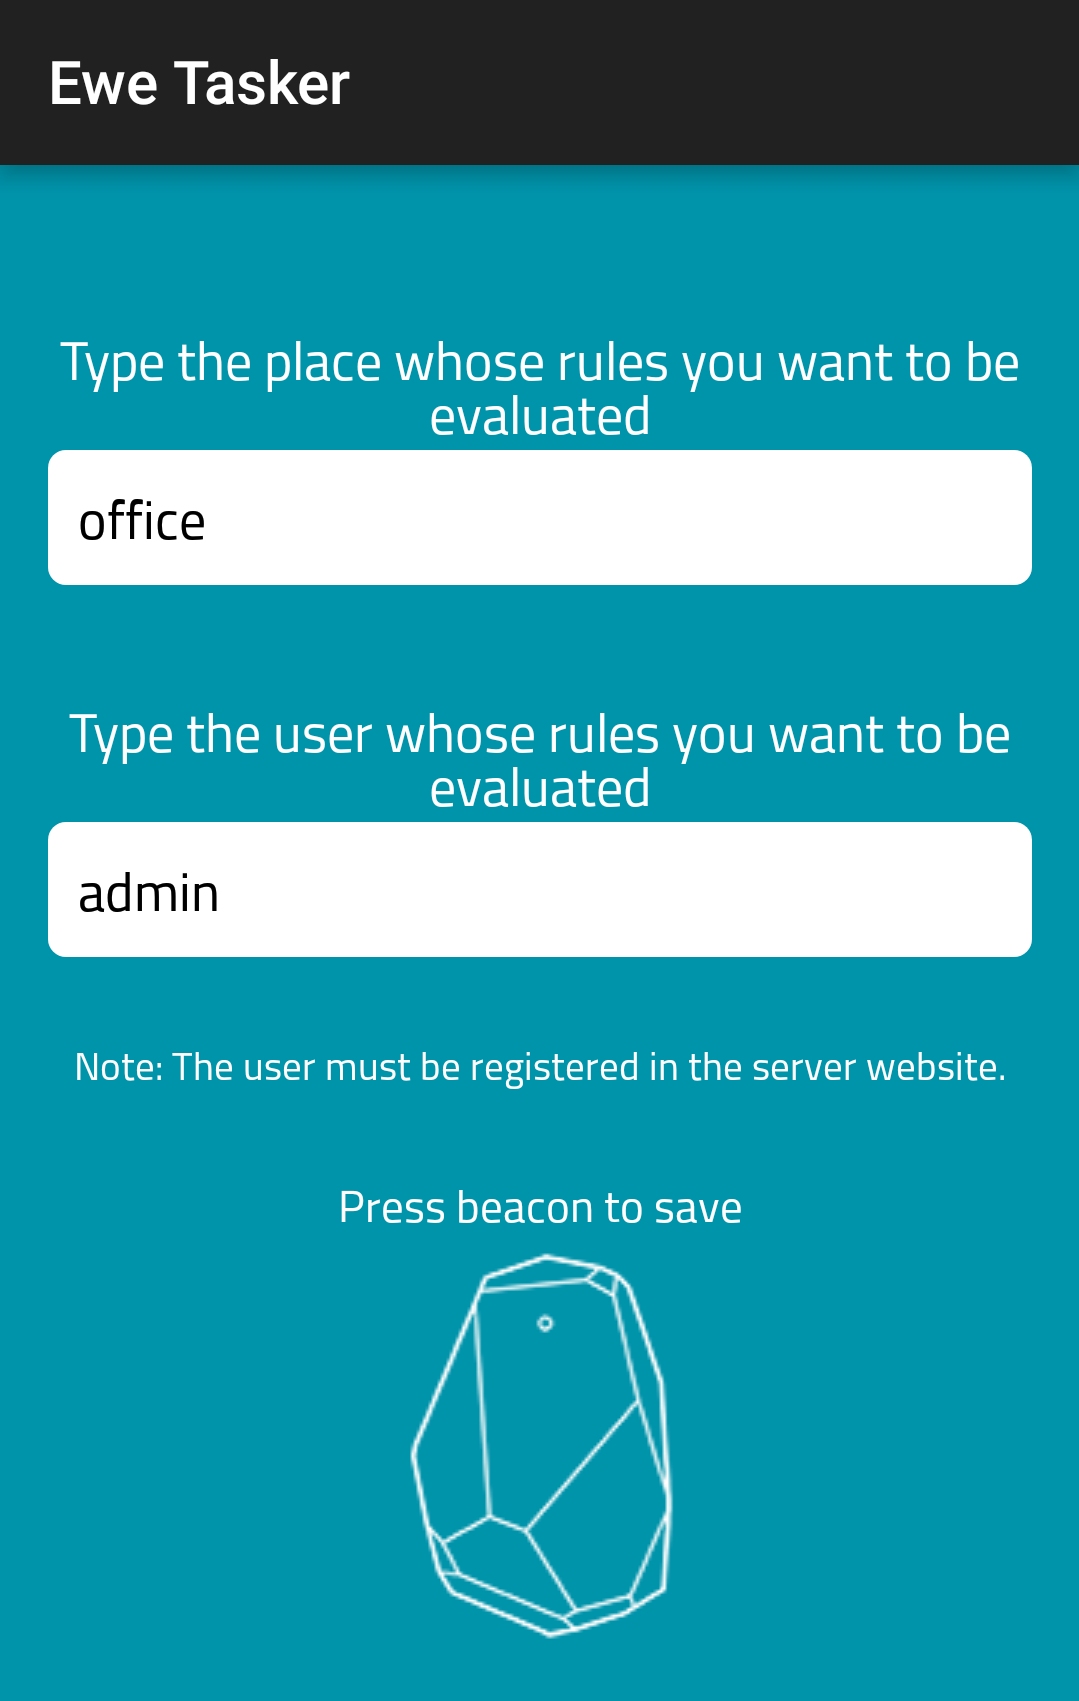
To finish the installation, you must tap the beacon image in Beacons’ screen to configure the place where you are using Ewetasker and your own username to evaluate the corresping rules.
Tutorial III: Creating Rules
In this section we will explain how to create rules for automate tasks using Ewetasker. To make this, you must access to the Rules page and click on Create New Rule. Once there it will appear the following page:
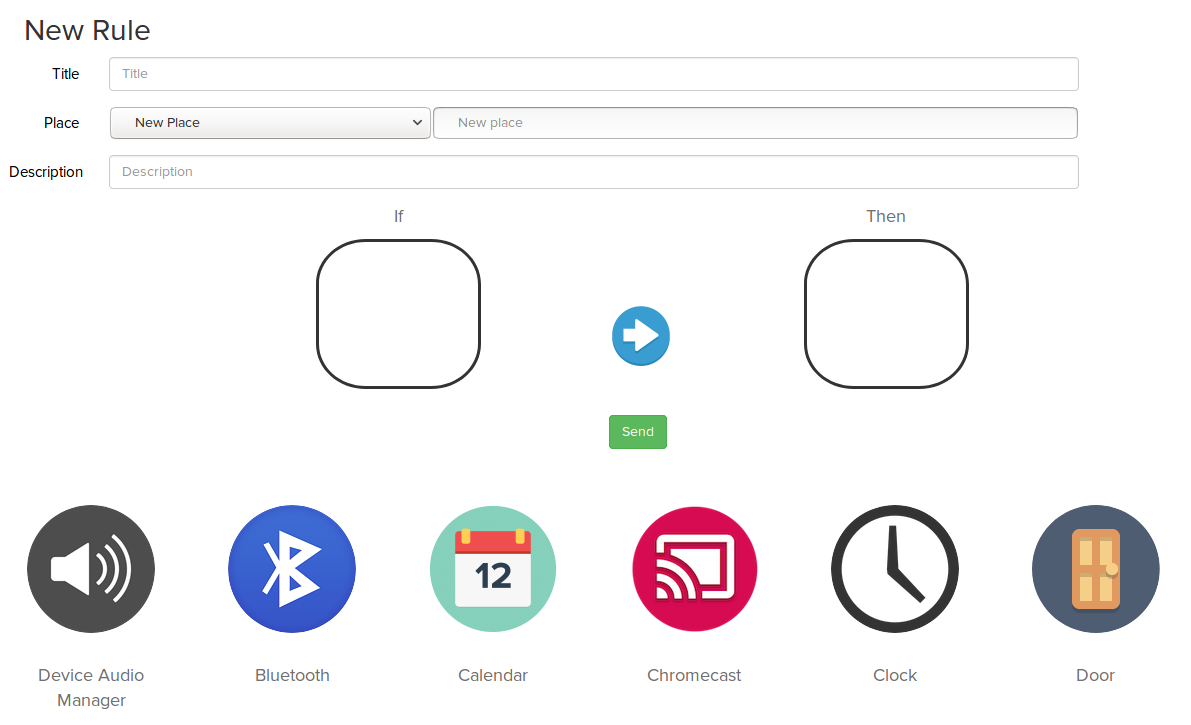
Now you can start creating a new rule by filling the information required as the title, the place, and the description. If you want to use the rule in a place that it has been used before, you can make this with the selector. However, if you want to use a new place for the rule, put the selector on New Place and fill the gap with the name of the new place. Once finished you must add events and actions by dragging their icon until the boxes. Important! Some channels will appear colored in greyscale. These channels will be unavailable until you activate them by adding your personal account (Twitter and Telegram), adding components (beacons, smart light, and smart plug) or creating content (CMS). Each time you drop an item, a dialog will apper to complete the parameters needed to create the rule. To finish, click on Send button.
Following the previous example, let’s see how to use the Bluetooth channel to create a rule for the office. In this case, we want to show a Toast Notification when we turn on the Bluetooth in our Smartphone.
First, we fill the information required.

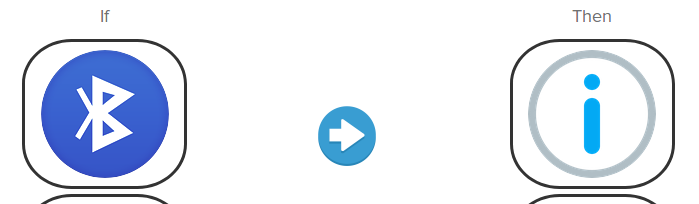
Second, we drag the Bluetooth channel icon to the box and choose the event.

Third, we do the same with the Toast Notification channel icon.
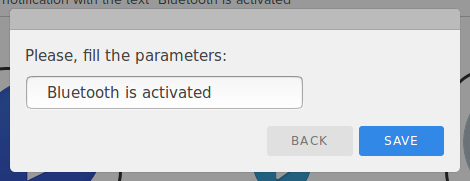
At last, we fill the parameters required.
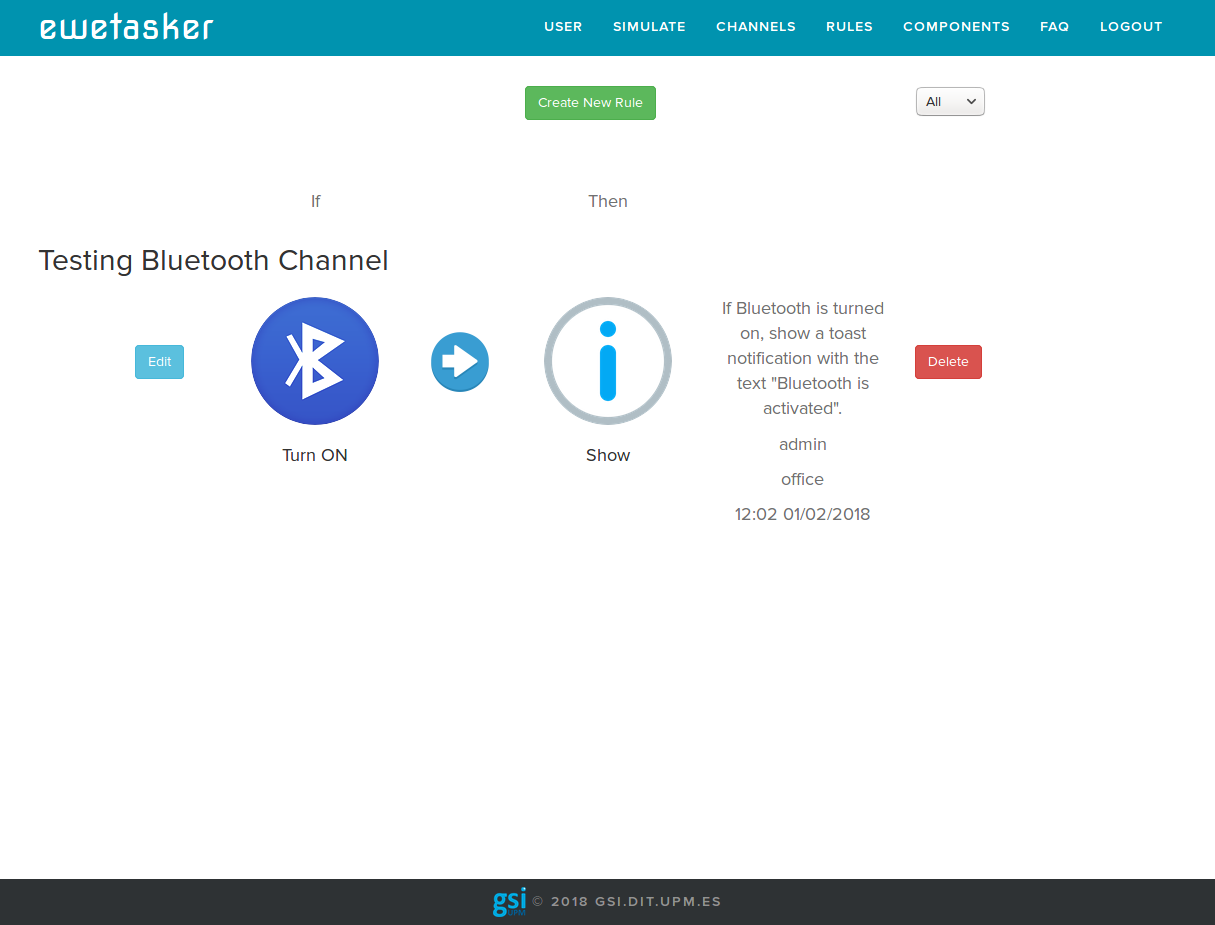
If rule has been created correctly you must be redirected to the Rules page:
Tutorial IV: Connecting Channels
Some channels must be connected to your personal account in order to be activated, and consequently, to use them in the rules. These channels are Twitter and Telegram. Let’s see how to connect them with our personal account.
Twitter Channel
First, go to User page and click on Connect with Twitter button. You will be redirected to this page:
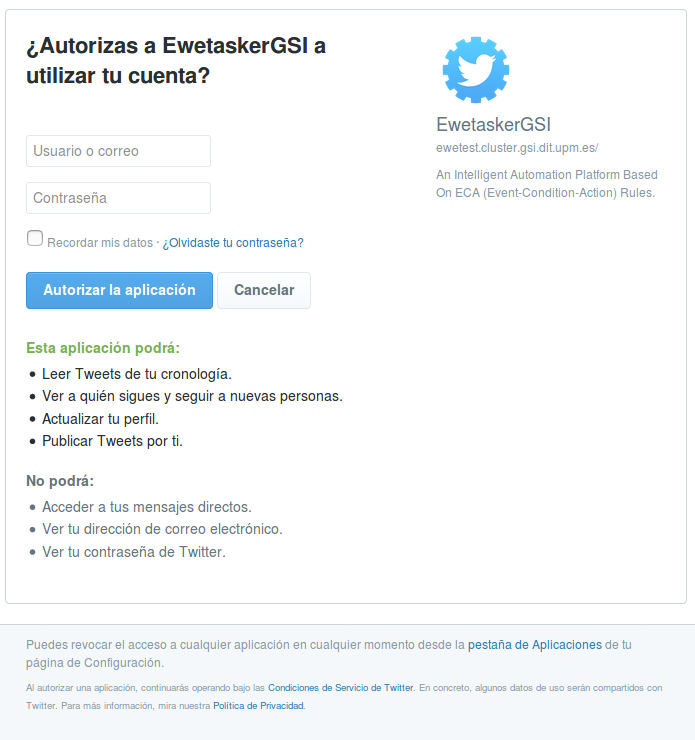
Once you log in Twitter and accept the conditions, you will be redirected to Ewetasker User page and you will be able to use Twitter channel.
Telegram Channel
Likewise, go to User page and click on Connect with Telegram button. You will see this message:
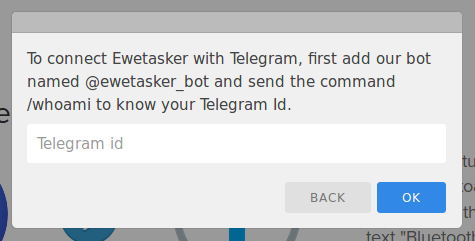
If you follow the instructions and send the /whoami command to the Ewetasker’s Telegram bot you will recive a message like this with the your Id.
Your Id: 12345678
Name: admin
Username: useradmin
Introduce your Id on the dialog created before and click on OK button.
Tutorial V: Creating Components
Some channels use smart devices to perform their actions. These devices must be created in Components page before use their corresponding channel in the rules. There are three types of components to use: Beacons, Smart Lights and Smart Plugs that correspond with Presence, Hue Light and Plug channels. Let’s see how to create them.
First, go to Components page:
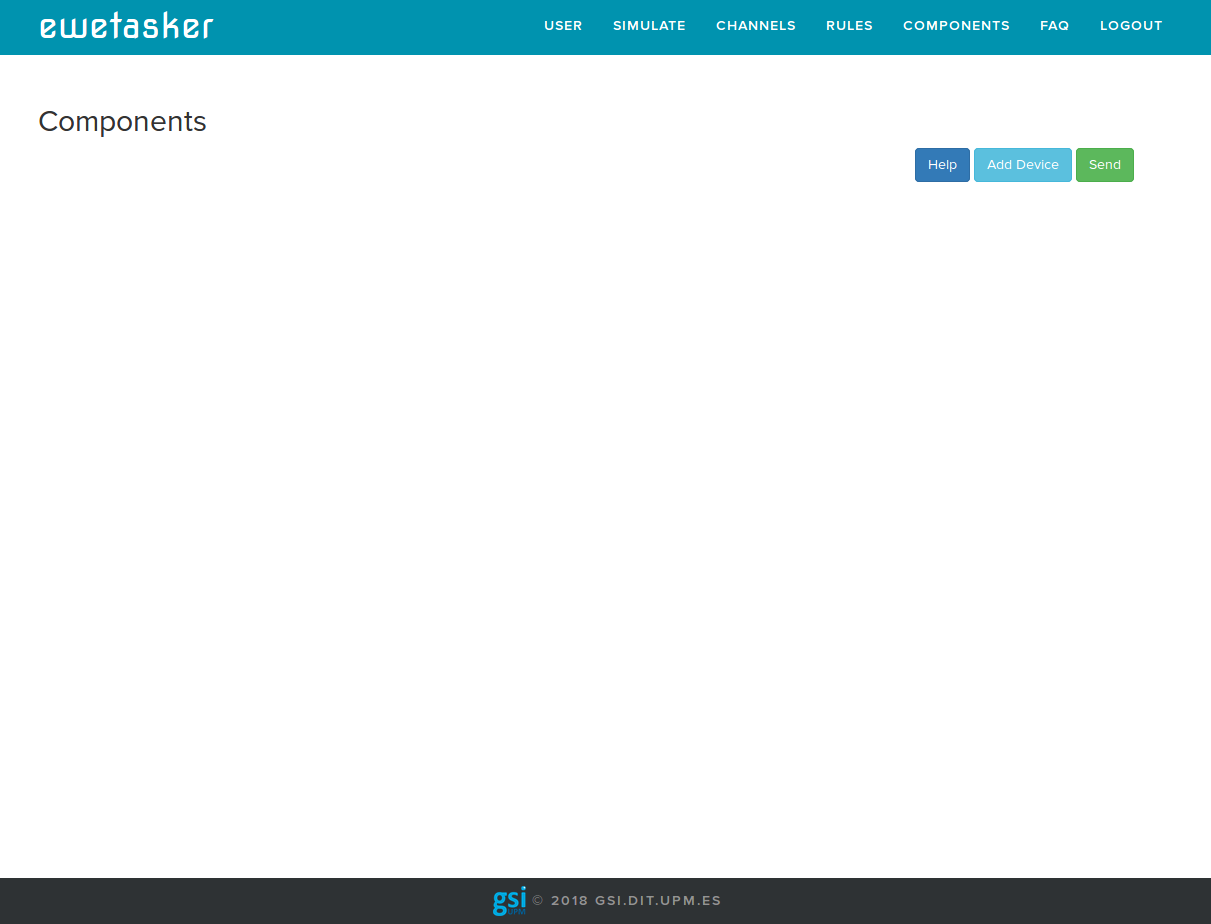
Then click on add Device. It will appear a panel to create a new component with the following parameters:
- Type: You must choose between beacon, smart light or smart plug depending of the type of device you want to add.
- Name: You must name the device to identify it in an informal way.
- ID: This is the most important parameter. You must write the device identifier provided by the company.
- Place: You must choose the place you are going to use the device.
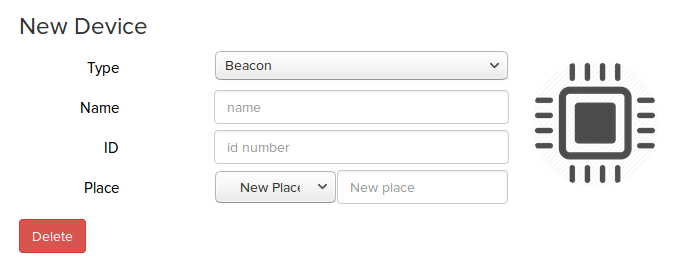
In this example we are going to add a new beacon named Office Door Sensor, whose ID is 123456789 and its place will be the office. To do this, we fill the information and click on Send button. Finally Component page should look like this:
Tutorial VI: Creating CMS Content
One of the main uses of beacons is to provide contextual information about the environment. For this purpose we have developed a Content Management System allowing creation and management of the content that will be presented to the users using Ewetasker Android App. Let’s see how to create content to activate and use this channel.
First, go to User page and click on Create CMS content button. You will be redirected to the following page:

Then click on Add new content. It will appear a panel to create the content.
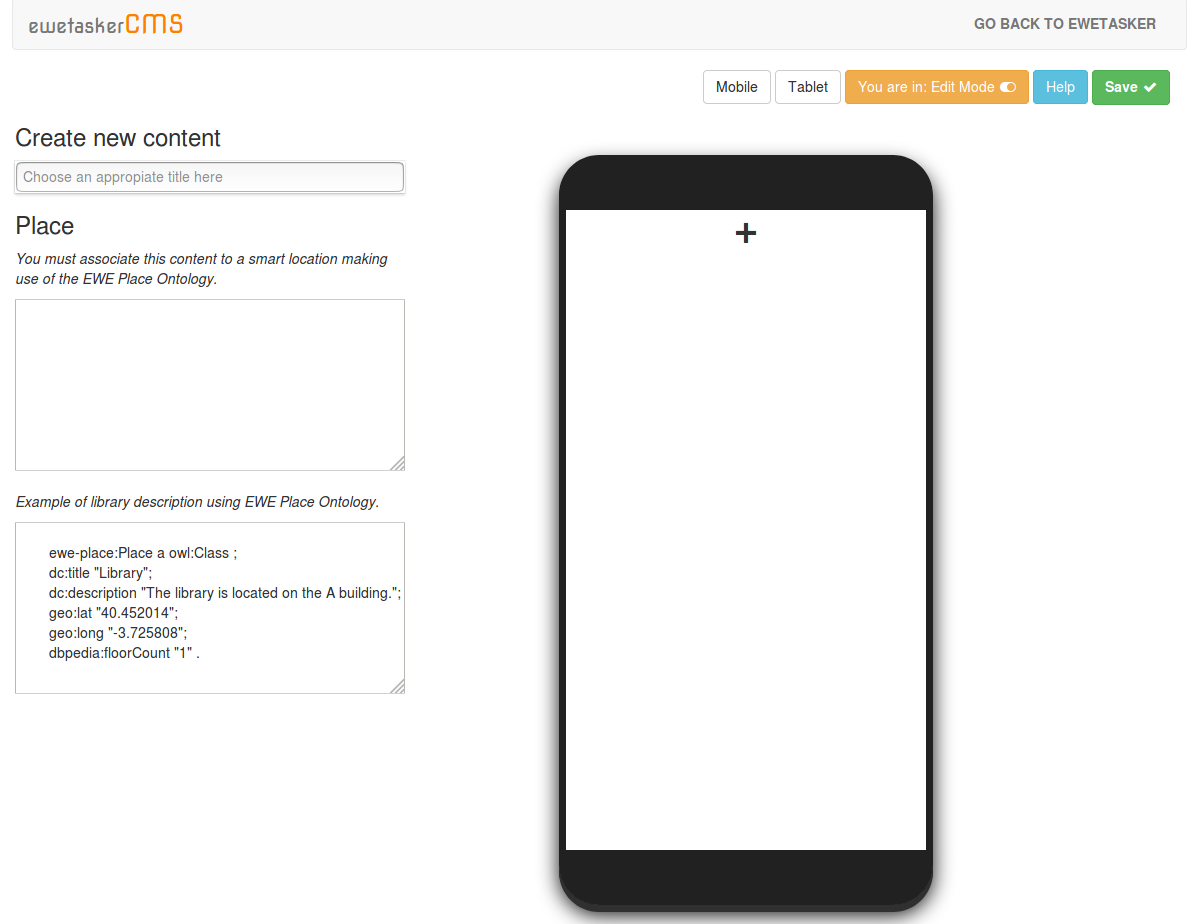
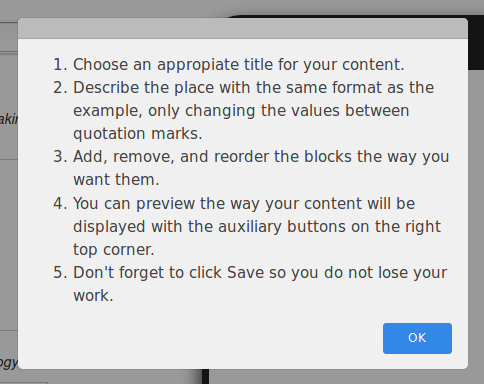
You can click on Help button to see the instructions to follow:
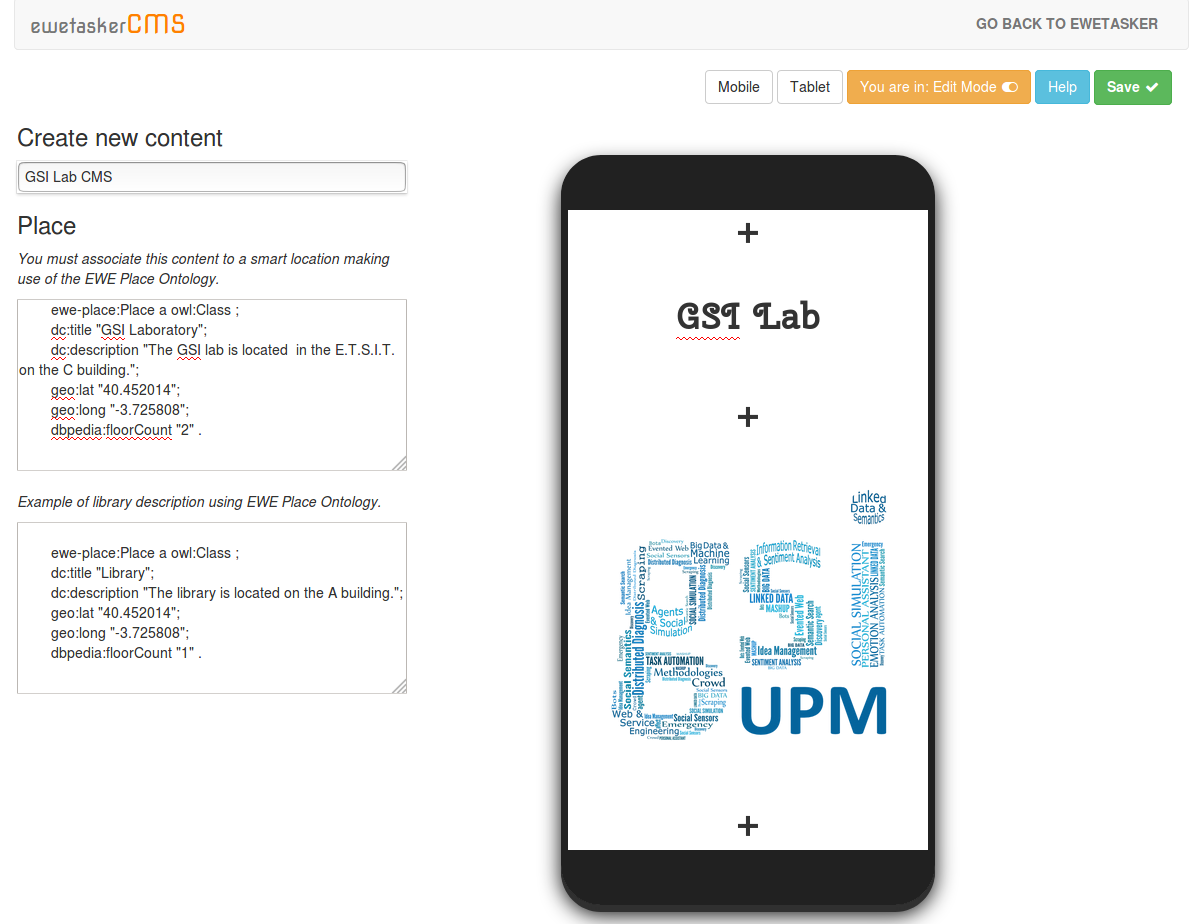
In this example we are going to create a cms content for the GSI Laboratory named GSI Lab CMS. First, we fill the lab information following Ewe Place Ontology. To do this, we paste the example under the text area and substitute the information between quotation marks. It should look like this:
ewe-place:Place a owl:Class ;
dc:title "GSI Laboratory";
dc:description "The GSI lab is located  in the E.T.S.I.T. on the C building.";
geo:lat "40.452014";
geo:long "-3.725808";
dbpedia:floorCount "2" .
IMPORTANT! The title parameter is needed to use CMS content created later in Ewetasker rules. You must write it correctly like this example: dc:title "GSI Laboratory";
Once finished this, it is time to create the CMS content. To do this, you can use the smartphone by clicking on plus button to add new content. Following the example we have created this view:
Lastly, we click on Save button. The content generated can be edited later and will be available to use it in the rules by using the same title as the written with Ewe Place Ontology. In addition your CMS channel will be activated in order to use it. Remember that CMS content will be displayed in your smartphone using Ewetasker Android App.
Tutorial VII: Loading Videos to Chromecast
With Ewetasker you can reproduce videos using a Chromecast device. For this purpose we developed a Chromecast channel in order to play Youtube videos when rules are activated. In this Tutorial you can see how to load videos and activate Chromecast channel.
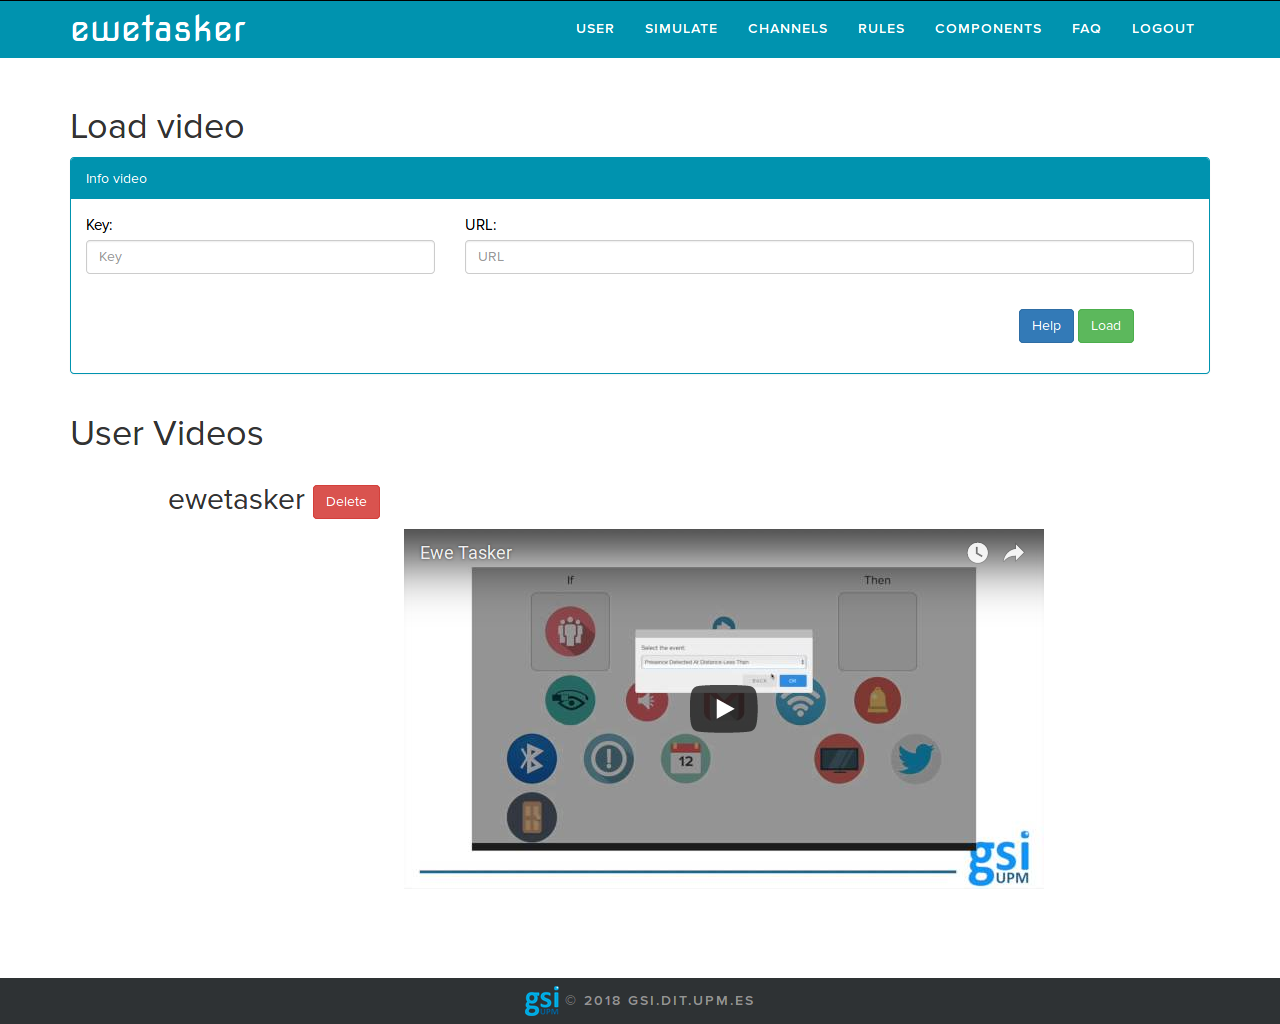
First, go to User page and click on Load Video to Chromecast. You will be redirected to the following page:
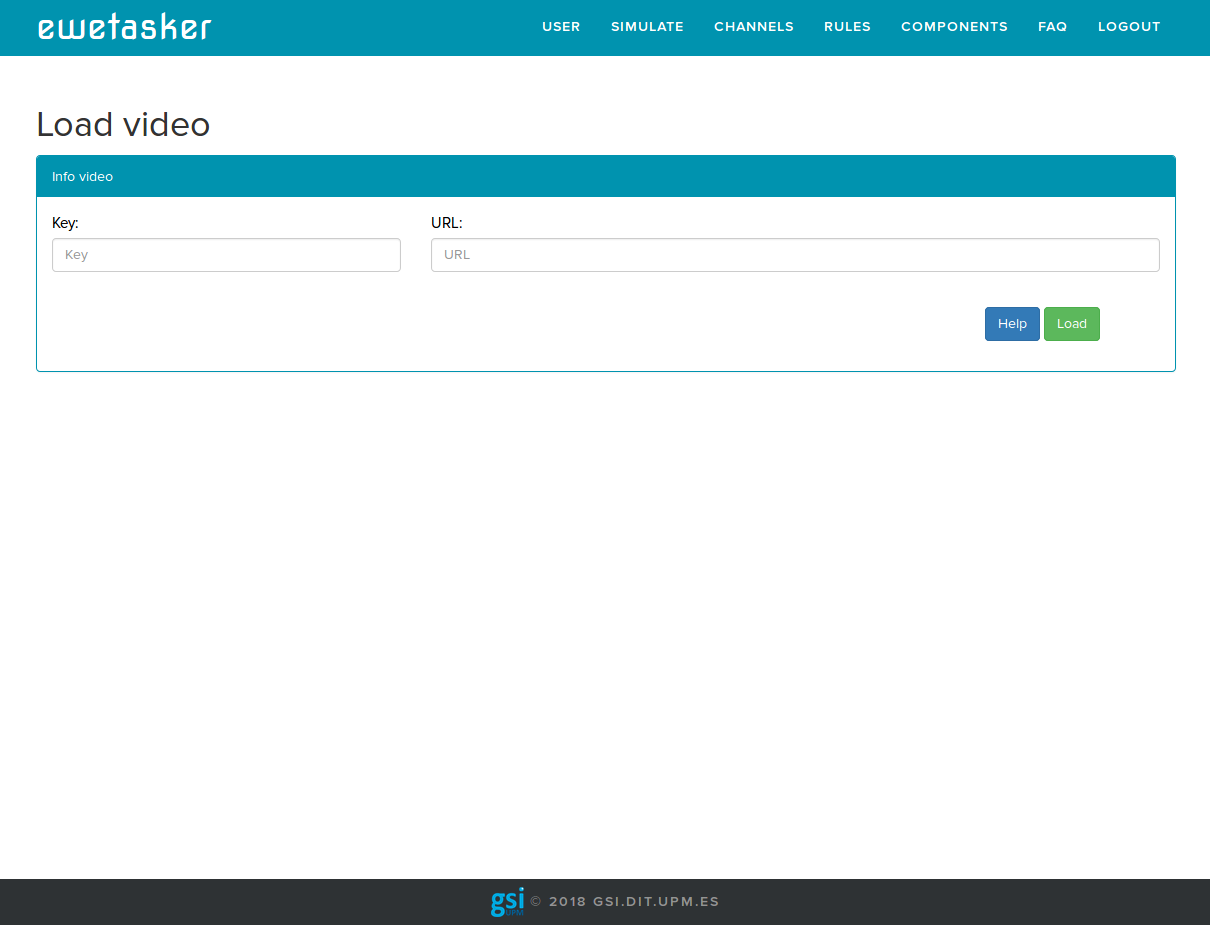
Then you must fill the parameters. The key parameter will be the name you will use when creating the rules, and the url parameter will be the Youtube video url. In this case, we have chosen the parameters: ewetasker and https://www.youtube.com/watch?v=k19_dF6LXCo .

To finish click on Load button. The video will appear in this page and Chromecast channel will be activated:
Tutorial VIII: Testing Created Rules
In the following section we will explain how to test the rules created before. There are two ways to do this:
- Using Ewetasker Android App
- Using Ewetasker Simulate page
Testing rules with Ewetasker Android App
Let’s see how to test the rule created in the previous tutorial using the app. You must have configured the app, following the steps of Tutorial II. In this case your App must be configured with user admin and place office. The rule created was: If Bluetooth is turned on, show a Toast notification with the text ‘Bluetooth is activated’. So, to test this rule you must open the app with the Bluetooth deactivated (the application will tell you to turn on the Bluetooth to listen the beacons but this time you will activate it later). Once in the main page, go to the quick access bar and activate the Bluetooth. A Toast notification will appear few seconds later with the message written in the rule.

Testing rules with Simulate Page
This is an alternative way to test rules that don’t perform actions using the smartphone like for example Twitter channel or Telegram channel. In addition with this interface you can simulate how rules created works by generating multiple events and seeing the actions triggered.
For this tutorial you must activate first Twitter channel. If you don’t know how to activate channels, go to Tutorial IV.
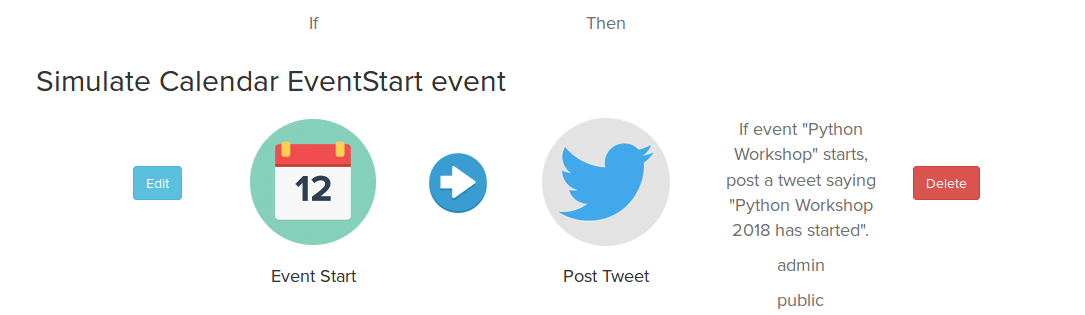
First, let’s create a rule that triggers Twitter channel action PostTweet. For example, the rule will be activated by the event EventStart that belongs to Calendar channel. The rule created for this tutorial will be: If event Python Workshop starts, post a tweet saying Python Workshop 2018 has started.
Then, go to the Simulate page, it should look like this:
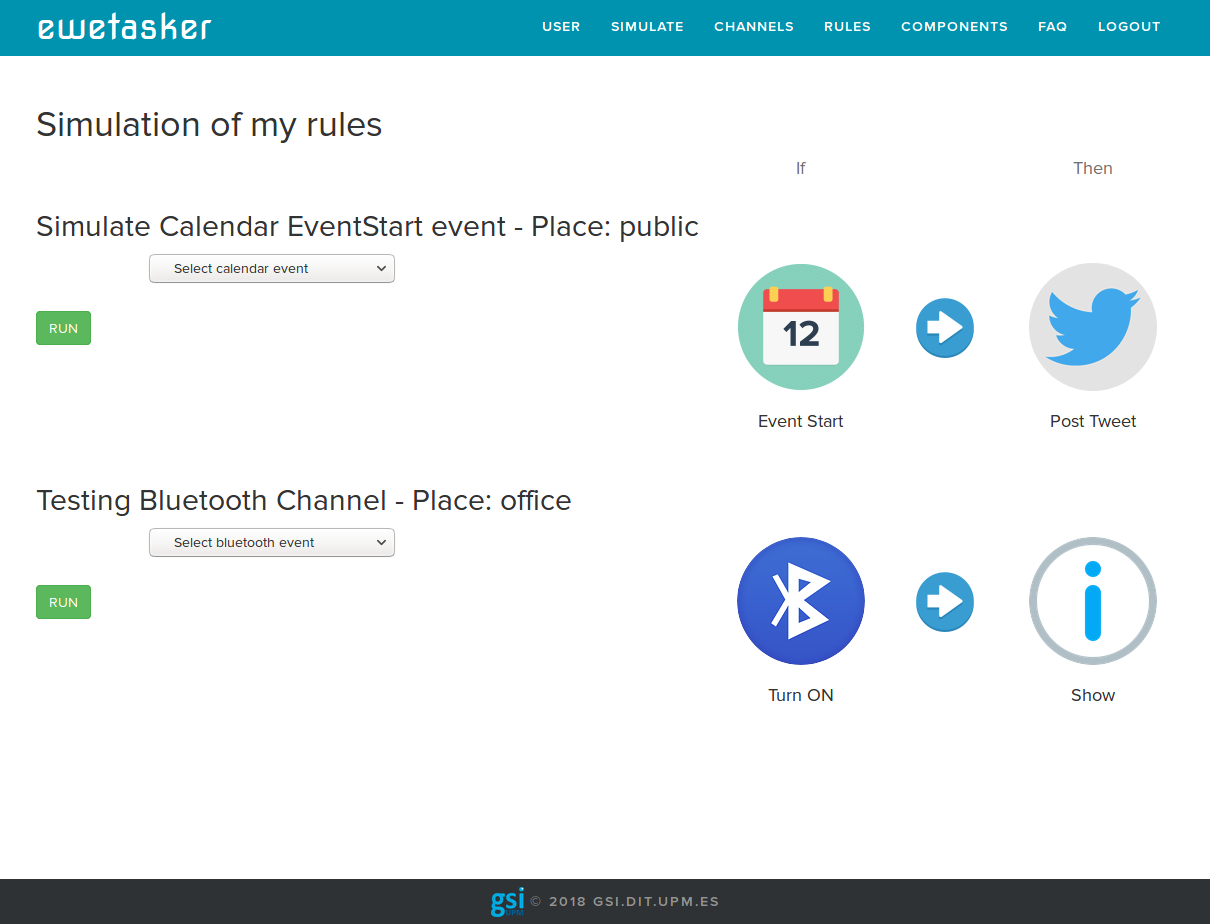
Once there you can select the event for the rule you want to be evaluated. In this case, we select EventStart event and we fill the eventTitle parameter with the title of our event: Python Workshop.

Finally to evaluate and test the rule click on RUN button. The tweet will appear few seconds later with the message written in the rule.

Tutorials Advanced
Creating Channels
In this tutorial we are going to learn who to create a channel following the EWE notation. To make this, you must click on Create New Channel button in Channels page. Once there it will appear the following page:
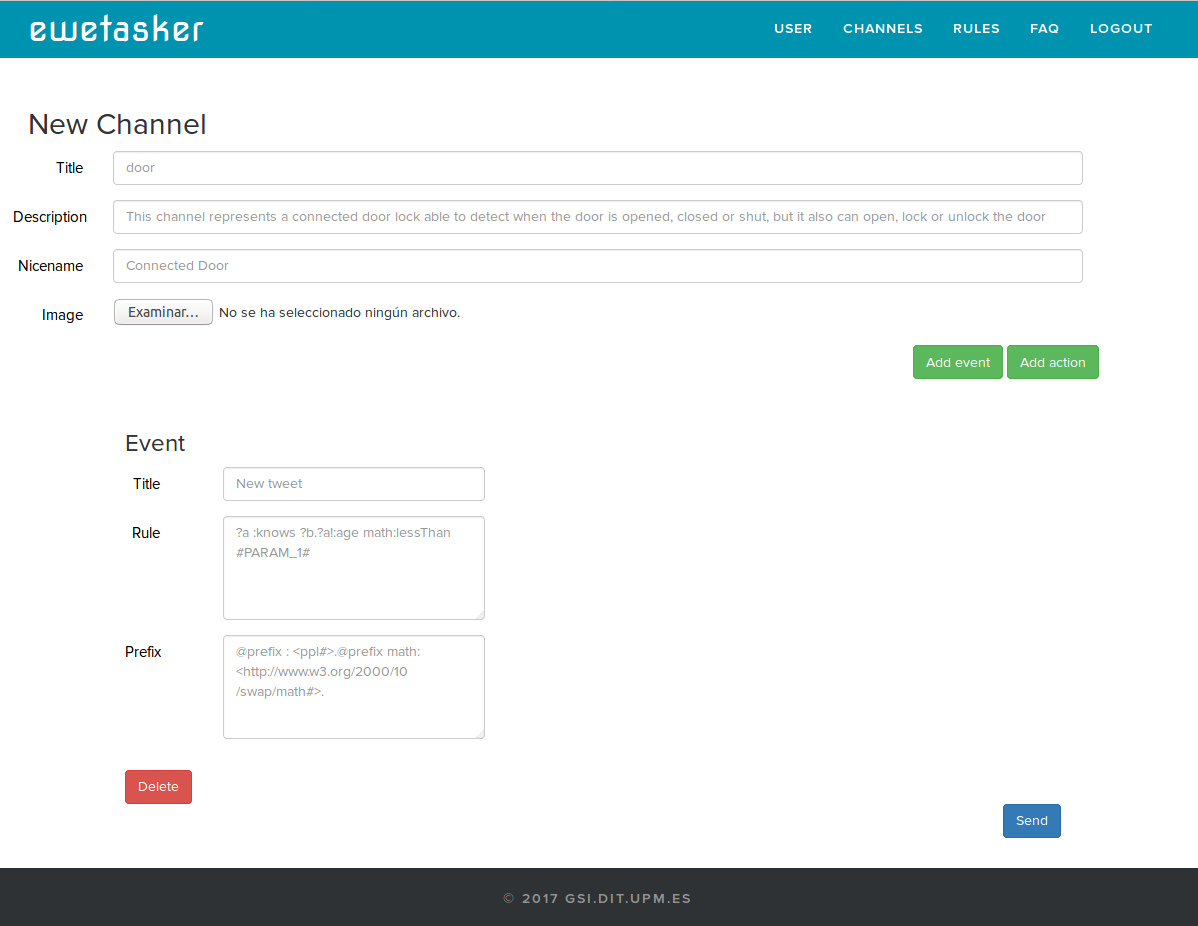
Now you can start creating a new channel by filling the information required as the title, the nice name, the description, and uploading an image for it. Once finished you must add an event or an action depending on the features of the channel.
To create an Event or an Action you must choose a title, write the rule in Notation3 and add the prefixes necesaries for the elements used in the rule. To finish, click on Send button.
In this example, we are creating the channel in charge of the Presence Sensor which has an event named Presence Detected At Distance Less Than.
- Title: presencesensor
- Description: This channel represents a presence sensor
- Nicename: Presence Sensor
- Event:
* Title: Presence Detected At Distance Less Than

* Rule:
?event rdf:type ewe-presence:PresenceDetectedAtDistance.
?event ewe:sensorID ?sensorID.
?sensorID string:equalIgnoringCase #sensorID#.
?event!ewe:distance math:lessThan #distance#.

* Prefix:
@prefix rdf: <http://www.w3.org/1999/02/22-rdf-syntax-ns#>.
@prefix string: <http://www.w3.org/2000/10/swap/string#>.
@prefix math: <http://www.w3.org/2000/10/swap/math#>.
@prefix ewe: <http://gsi.dit.upm.es/ontologies/ewe/ns/#>.
@prefix ewe-presence: <http://gsi.dit.upm.es/ontologies/ewe-connected-home-presence/ns/#>.
Setting up the environment variables
For this task, edit the file named Dockerfile in the root directory of the project. As you can see, the variables correspond to the Docker container which contains the Mongo Database used for the application.
FROM php:7.0-apache

RUN apt-get update
RUN apt-get install -y libssl-dev
RUN pecl install mongodb
RUN echo "extension=mongodb.so" > /usr/local/etc/php/conf.d/mongo.ini
RUN echo "display_errors=Off" > /usr/local/etc/php/conf.d/php.ini

ENV MONGO_HOST "127.0.0.1"
ENV MONGO_DB "applicationdb"
ENV MONGO_DB_CMS "cmsdb"
ENV MONGO_PORT "27017"
ENV MONGO_USER "client"
ENV MONGO_PASS "gsimongodb2017"

ADD www /var/www/html/
Accessing Ewetasker’s Docker Containers
If you wish to see how tasks are being executed, you can see the logs by accessing Ewe Tasker Docker container.
$ sudo docker exec -it ewetasker /bin/bash
On the other hand, if you wish to see which data is saved in the database, you can access to mongo database with the following commands:
- Application Database
$ sudo docker exec -it ewemongo mongo applicationdb
$ show collections
- CMS Database
$ sudo docker exec -it ewemongo mongo cmsdb
$ show collections